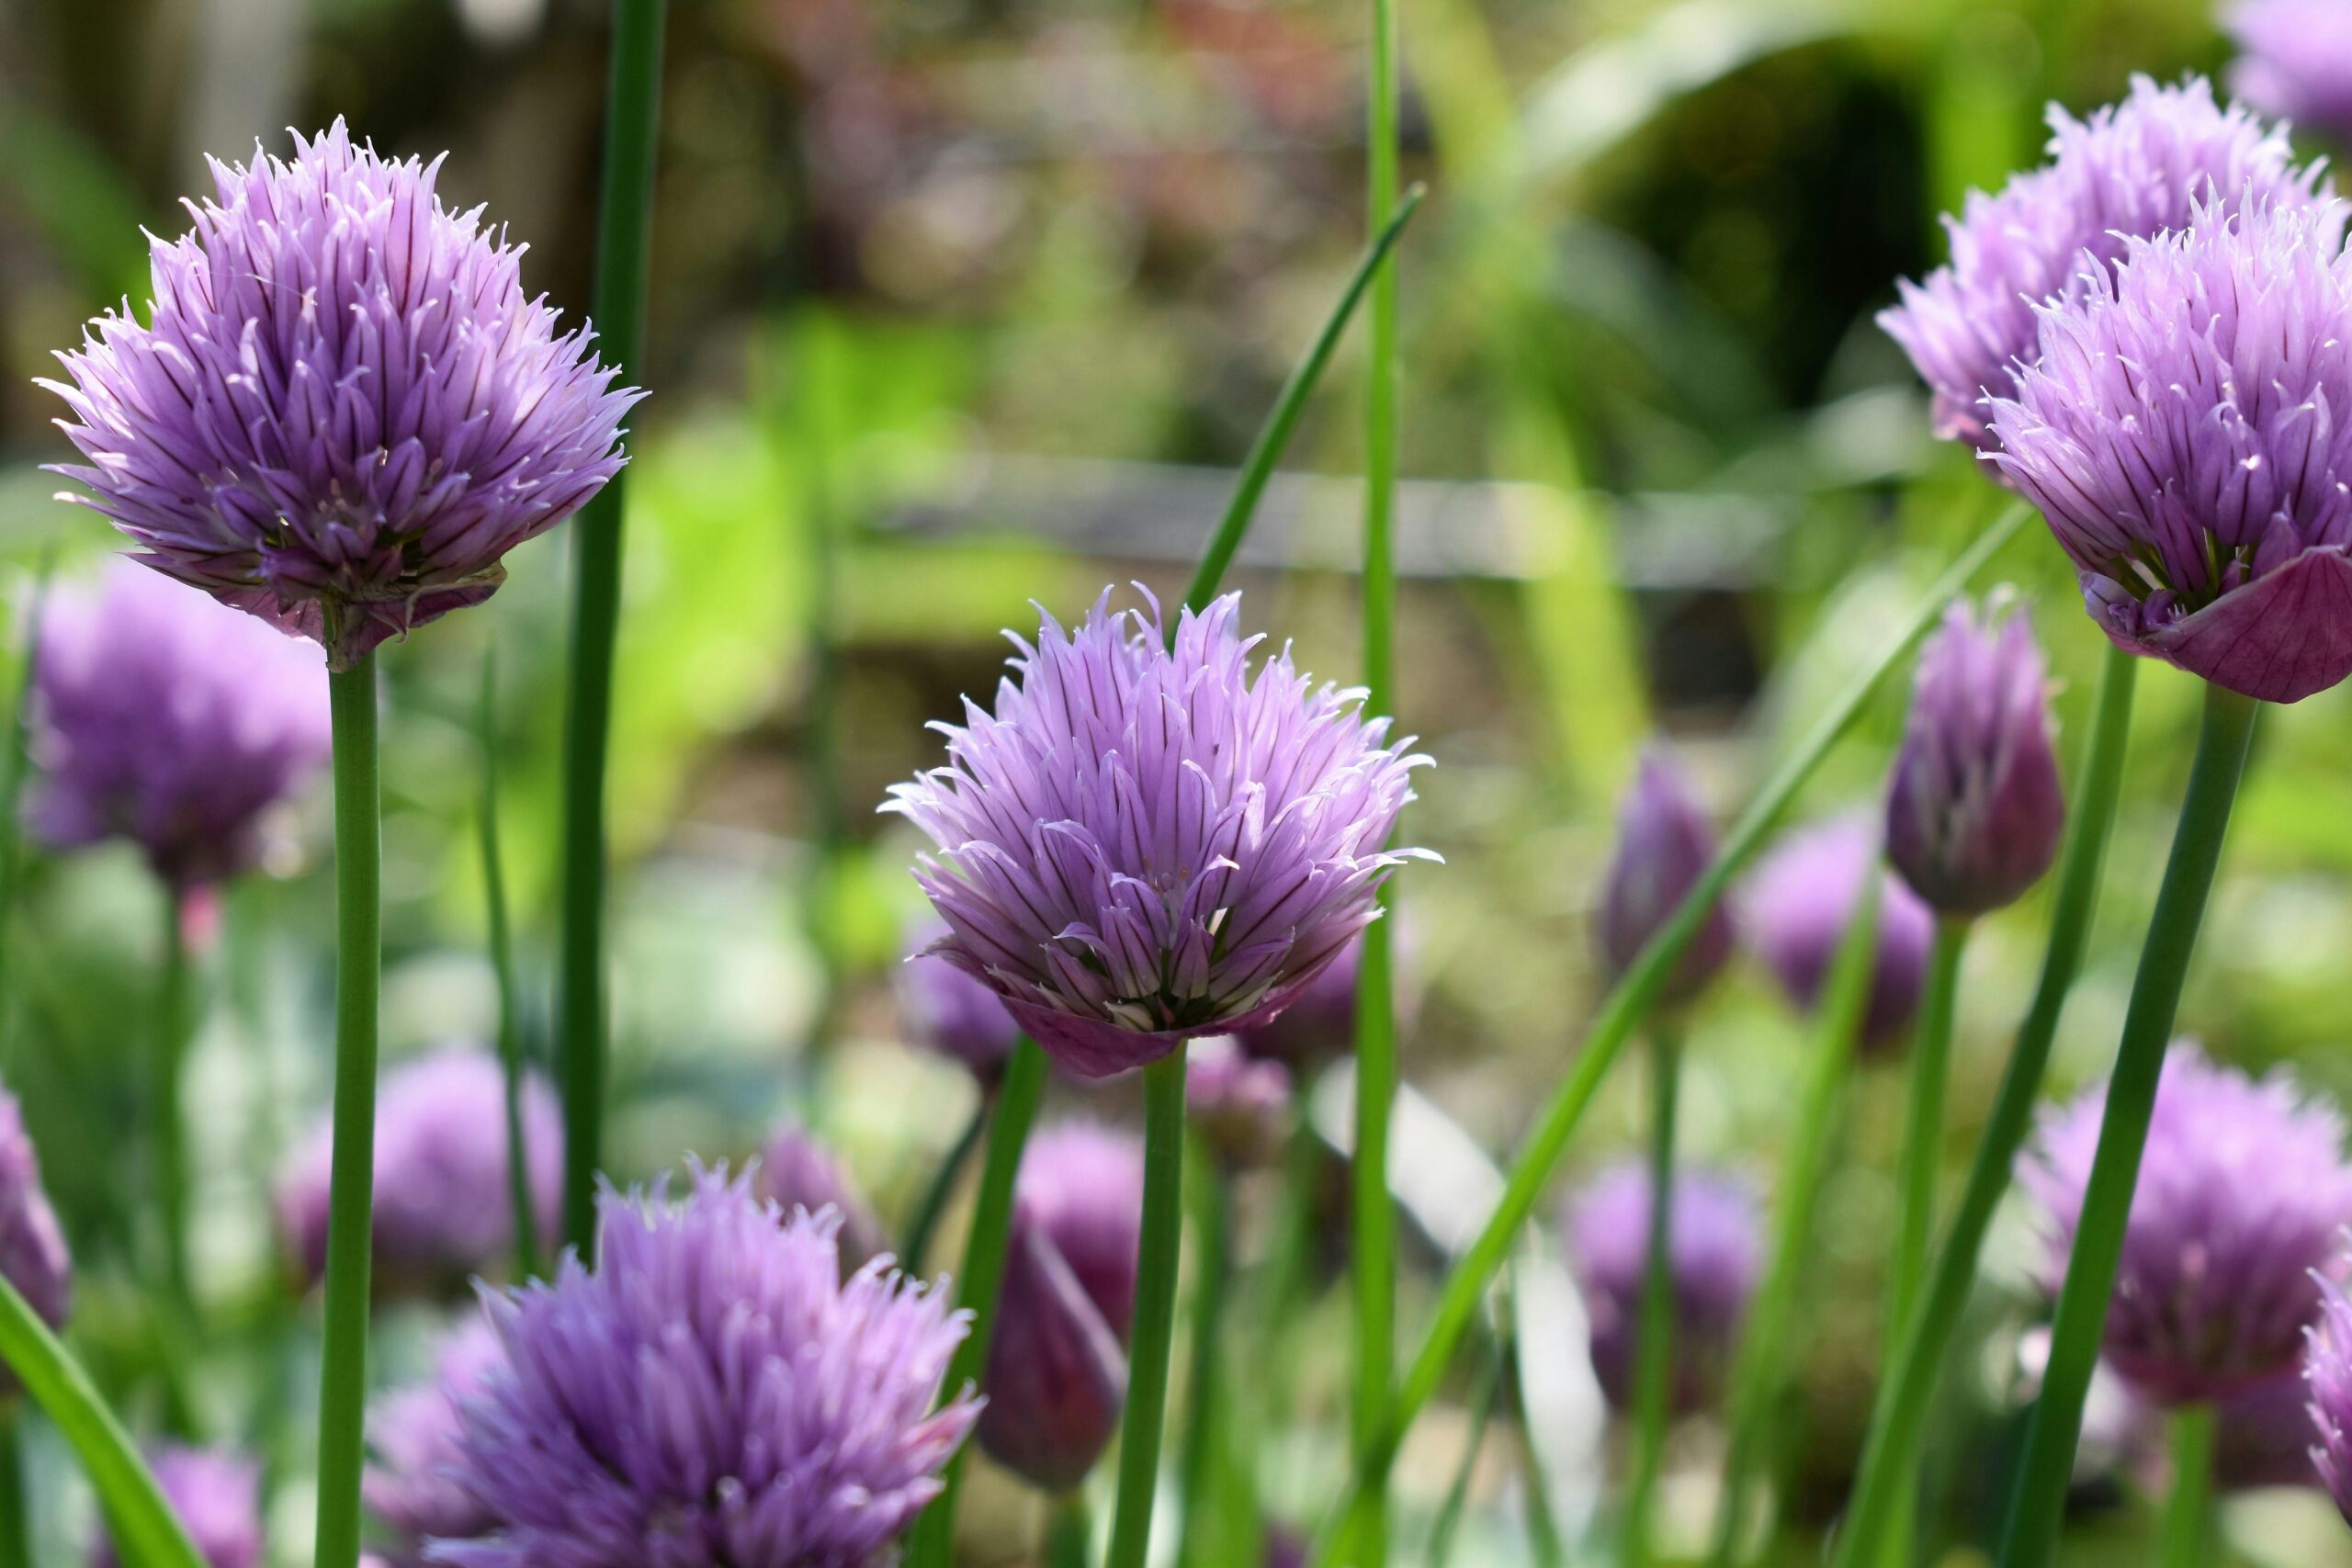
Chives (Allium schoenoprasum) are a versatile, low-maintenance herb that adds a mild onion-like flavor to dishes. How to Grow Chives from Cuttings is a simple and efficient method that allows you to propagate fresh chives quickly, even indoors. While chives are commonly grown from seeds or divisions, using cuttings is an excellent way to expand your herb garden with minimal effort.
In this guide, we’ll walk you through the best practices for growing chives from cuttings, ensuring a successful harvest.
⸻
Contents
- 1 Why Grow Chives from Cuttings?
- 1.1 Step 1: Selecting the Right Chive Cuttings
- 1.2 Step 2: Preparing the Cuttings for Propagation
- 1.3 Step 3: Rooting the Cuttings in Water
- 1.4 Step 4: Transplanting into Soil
- 1.5 Step 5: Caring for Your Chive Plants
- 1.5.0.1 Harvesting Your Chives• Start harvesting once the plant reaches 6 inches (15 cm) tall.• Use clean scissors to cut just above soil level.• Fresh chives regrow quickly, so expect new shoots within 1–2 weeks.• Store harvested chives in the fridge or freeze chopped chives for later use.
- 1.5.0.2 📌 Tip: If you plant 5 cuttings in a pot, you can harvest fresh chives every few weeks and have a continuous supply for cooking.
- 1.6
- 1.7
- 1.8
- 1.9
- 1.10
- 1.11
- 1.12
- 1.13
- 1.14
- 1.15
- 1.16 Common Problems & Solutions
- 1.17 Final Thoughts: Enjoy a Fresh Supply of Chives!
- 1.18 FAQ: How to Grow Chives from Cuttings
- 1.19 Can chives grow from cuttings?
- 1.20 How long does it take for chive cuttings to root?
- 1.21 Do I need rooting hormone for chive cuttings?
- 1.22 Can I grow chives indoors?
- 1.23 How much sunlight do chives need?
- 1.24 How often should I water chives?
- 1.25 How do I harvest chives without harming the plant?
- 1.26 How long do chives live?
- 1.27 Why are my chives turning yellow?
- 1.28 Can I freeze chives after harvesting?
Why Grow Chives from Cuttings?
- Faster Growth: Cuttings establish more quickly than seeds.
- Cost-Effective: No need to buy new plants—just reuse existing ones.
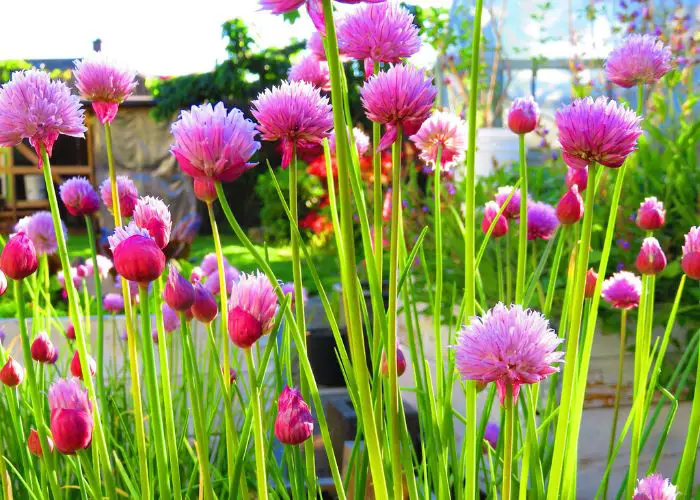
- Year-Round Harvest: Grow chives indoors for fresh herbs anytime.
- Sustainable Gardening: Reduce waste by using kitchen scraps.
⸻
Step 1: Selecting the Right Chive Cuttings
Not all chive stems will successfully regrow. Follow these tips when selecting cuttings:
• Choose fresh, green stems about 4–6 inches (10–15 cm) long.
• Avoid cuttings with yellowing or damaged leaves.
• Ensure at least one healthy node (growth point) on each cutting.
• If possible, pick cuttings with some attached roots for faster growth.
📌 Tip: If you buy fresh chives from the store, pick the ones with firm, green stems and trim off any wilted parts before propagation.
⸻
Step 2: Preparing the Cuttings for Propagation
1. Trim the base of the chive cutting at a slight angle. This increases water absorption.
2. Remove any damaged or yellowing leaves to focus energy on root growth.
3. Optional: Dip the cut end in rooting hormone to speed up root development.
📌 Tip: If you cut chives from your garden, snip the stems cleanly with sterilized scissors to avoid bacterial infections.
⸻
Step 3: Rooting the Cuttings in Water
Chives can root easily in water before transplanting into soil.
1. Fill a small glass or jar with room-temperature water.
2. Place the chive cuttings so the base is submerged, but leaves stay above water.
3. Set the jar in bright, indirect sunlight (e.g., a kitchen windowsill).
4. Change the water every 2–3 days to prevent rot.
5. Within 7–14 days, you should see white roots emerging.
📌 Tip: If you start with five cuttings, expect at least three to root successfully. Those that don’t root within two weeks shou3ld be replaced with fresh cuttings.
⸻
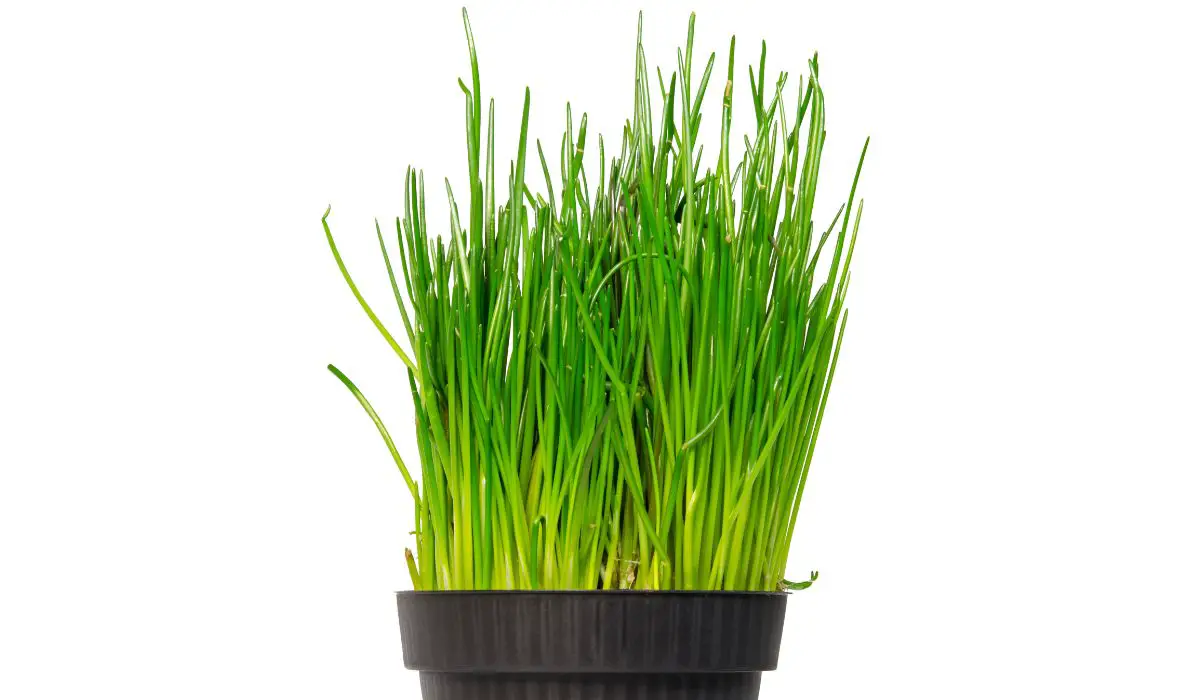
Step 4: Transplanting into Soil
Once roots reach 1–2 inches (2.5–5 cm) long, it’s time to plant the chives in soil.
1. Choose a well-draining pot or garden bed with loose, fertile soil.
2. Mix in organic compost or aged manure for added nutrients.
3. Make a small hole and gently place the rooted cutting inside.
4. Cover the roots with soil and lightly press down for stability.
5. Water gently to moisten the soil without over-saturating it.
📌 Tip: If planting in a container, a 6-inch (15 cm) deep pot works well for individual chive plants. For a larger yield, use a wide planter and space multiple cuttings 2–3 inches (5–7 cm) apart.
⸻
Step 5: Caring for Your Chive Plants
🌞 Light: Chives need at least 6 hours of sunlight per day. If growing indoors, use a grow light for better results.
💧 Watering: Keep the soil evenly moist, but avoid waterlogging. Water when the top 1 inch (2.5 cm) of soil feels dry.
🌱 Fertilizing: Use a balanced liquid fertilizer every 3–4 weeks to encourage lush growth. Organic options like fish emulsion or compost tea work well.
✂️ Pruning: Regularly snip off mature leaves to promote new growth. Avoid cutting more than one-third of the plant at a time.
⸻
Harvesting Your Chives
• Start harvesting once the plant reaches 6 inches (15 cm) tall.
• Use clean scissors to cut just above soil level.
• Fresh chives regrow quickly, so expect new shoots within 1–2 weeks.
• Store harvested chives in the fridge or freeze chopped chives for later use.
📌 Tip: If you plant 5 cuttings in a pot, you can harvest fresh chives every few weeks and have a continuous supply for cooking.
⸻
Common Problems & Solutions
❌ Problem: Chives are wilting after transplanting.
✅ Solution: Keep soil evenly moist, avoid full sun immediately, and allow time for roots to establish.
❌ Problem: Chives are growing slowly.
✅ Solution: Boost growth with organic fertilizer and ensure enough sunlight.
❌ Problem: Mold or rot appears on cuttings.
✅ Solution: Change the water regularly when rooting and use well-draining soil after transplanting.
⸻
Final Thoughts: Enjoy a Fresh Supply of Chives!
How to Grow Chives from Cuttings is an easy and rewarding method to keep fresh herbs in your kitchen. With minimal effort, you can propagate, transplant, and harvest chives year-round. Whether you grow them indoors or outdoors, these flavorful herbs will elevate your cooking while requiring very little maintenance.
Read more about 5 Breakthrough Gardening Techniques for Maximum Plant Grow
FAQ: How to Grow Chives from Cuttings
Can chives grow from cuttings?
Yes! Chives can be propagated from cuttings by rooting them in water before transplanting them into soil.
How long does it take for chive cuttings to root?
Chive cuttings typically develop roots within 7–14 days when placed in water.
Do I need rooting hormone for chive cuttings?
No, chives root easily without rooting hormone, but using it may speed up the process.
Can I grow chives indoors?
Yes! Chives grow well in pots on a sunny windowsill or under a grow light.
How much sunlight do chives need?
Chives require at least 6 hours of sunlight per day for healthy growth.
How often should I water chives?
Water when the top 1 inch (2.5 cm) of soil feels dry—avoid overwatering.
How do I harvest chives without harming the plant?
Use scissors to snip leaves at the base, leaving at least 2 inches (5 cm) of growth for regrowth.
How long do chives live?
Chives are perennial herbs that can live for years with proper care.
Why are my chives turning yellow?
This could be due to overwatering, poor soil drainage, or lack of nutrients—adjust care accordingly.
Can I freeze chives after harvesting?
Yes! Chop and freeze them in an airtight container for long-term storage.
A garden is a place that relaxes us and reflects our personal style, it’s a place to spend time with loved ones and grow our own fruits and vegetables. Maybe you’re looking for design inspiration or plant selection, or you’re concerned about garden privacy, shady areas, or pests, but don’t worry, you’ve come to the right place.