Some people choose to grow autoflowering seeds indoors, but what about outdoors? Today we will review how to grow autoflowering seeds outdoors in 6 steps. It is surprisingly not too difficult and there are multiple methods you can achieve the best and most plentiful harvest possible.
Even if you have never grown autoflowering seeds, our step-by-step tutorial makes it easy for the most beginner gardeners. There is not a lot to it. As long as you have a strong source of light, plenty of water, and space, your plants should successfully grow to harvest within just a few weeks.
Contents
What Are Autflowering Seeds?
These seeds are created by crossbreeding certain plants so that flowering is quicker. These seeds produce flowers on their own within 2-4 weeks. However, sometimes they can take as long as 15 weeks depending on the mix and your growth set-up.
You can purchase most seeds online, but always check with your local regulations and guidelines. It is rare to see auto flowering seeds in a garden center or store. Usually, gardeners will purchase these seeds when they want to grow auto flowering plants indoors, but they work just as well outdoors with a few precautions.
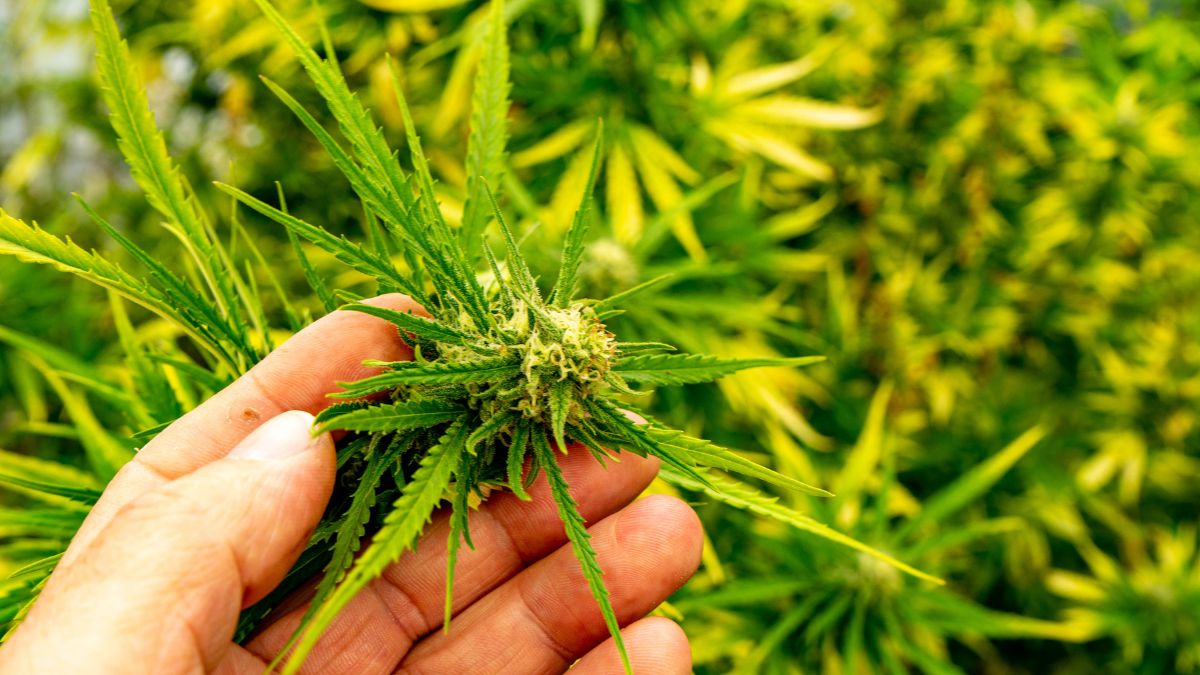
Can You Grow Autoflowering Seeds Outdoors?
Autoflowring seeds are designed to grow quickly indoors, but this does not mean you can’t try to grow them outdoors. When you grow these seeds outdoors, you should be prepared to know that it will take longer to flower. Most autoflowering seeds take at least 20 weeks to grow to harvest when planted and cared for outside.
Since it is harder to maintain the temperature outside and the right conditions, it can take longer. However, as long as you frequently give your plant light, water, and plant food (if needed), it is likely to grow large and happy.

How to Grow Autoflowering Seeds Outdoors in 6 Steps
Step 1: Germinate the Seeds
Autoflowering seeds require a lot of water and moisture. You will need to germinate your seeds by submerging them in water for 24 hours. This is a technique that helps us germinate the seeds well. Once the seeds are completely dunked in the water, you can move them to a paper towel.
Close the paper towel and fold it in half twice to cover the seed. This will increase the humidity surrounding the seed. Leave the seed in the humidity bag for at least a week. After a week you should see root growth and even a sprout! It is fascinating seeing seeds grow right in front of your eyes.
Step 2: Create the Special Mix
Not all potting mix is made the same way. Autoflowering seeds need a well-draining type of soil that is also full of natural nutrients like calcium and nitrogen. I recommend starting with a mix that is easy for beginners and you can find in most stores. However, if possible also add peat to the mix.
Some people prefer using soiless mixtures, but in my opinion it is easier using soil in outdoor settings. If you want to add more natural nutrients to your soil, you can also crush up organic matter like egg shells and banana peels. Keep in mind that it takes weeks to months for these organic matters to completely decompose.
Step 3: Find a Large Container/Pot
The third step is the easiest, but it is also the most important! If you don’t have the right container/gardening pot for your autoflowering seeds, they won’t flourish. Start with a small container when growing a seedling. Autoflowering plants grow quickly, because of this their roots need a lot of space to explore and grow.
As your autoflowering plant grows, you will need to find them a new home. Go a size up every two months. However, if your pot is too large, it will overwhelm your plant and sometimes add additional moisture leading to root rot. You don’t want too much water in your container.
Step 4: Make Sure the Area Has Plenty of Sunlight
Light is the most important thing for an autoflowering seed. If they don’t have enough direct sunlight, they won’t grow. Usually, if you were growing these seeds indoors, you could purchase a light setup and an indoor green house. However, outside is harder to control the lighting, so don’t be too alarmed if it takes your plants slightly longer to flower and bloom.
If possible, place your autoflowering plant outside when it is at least 5-10 inches tall. Before this, it is susceptible to many diseases and attacks from animals. Just a tip, purchase some kind of wiring or mesh for your autoflowering plant to ensure no animals sneak a bite. This won’t protect from diseases or most bugs.
Step 5: Water Lightly
Watering is almost as important as light. If you don’t water your plant enough, it will wither and die. However, if you water it too much, it will develop root rot and slowly die, causing a stinky musky scent. You should water your small seedling once every 3-4 days. However, once you plant it outside in temperatures above 80 degrees Fahrenheit, you should water frequently.
The best way to know if your plant needs water is to check the drainage. If you want to know how to grow autoflowering seeds outdoors and water them well, stick a finger in the soil and see if the layer underneath the top is wet. Don’t water your plant when the sun is on top of them, though as this will stress them out with the dramatic change in temperature.
Read more about How To Grow Calamansi From Seed In 5 Easy And Fast Steps
Conclusion
How do you feel about our tutorial on how to grow autoflowering seeds outdoors? Have you learned something new? Are you ready to grow these special seeds on your own? Let us know your thoughts and questions in the comment section below!
As long as you choose beginner friendly seeds with quick harvests, your plant should be ready within just 7-15 weeks. If you know anyone else interested in learning how to grow autoflowering seeds outdoors, let us know by sharing this quick tutorial. It only takes 6 quick and easy-to-read steps!
FAQs
Do Autoflowers need darkness?
Autoflowers don't need darkness. Actually, these plants grow well in very lit up gardening set-ups.
How long does it take Autoflowers to grow from seed to harvest?
It can take anywhere from 7 to 15 weeks from seed to harvest depending on the type of seed and your set-up.
What is the best soil to use for Autoflower plants?
The best soil to use for autoflower plants is a mixture of 70-80% organic soil mixed with 15% perlite and 15% coco fiber.
How often should you water Autoflowers?
You should water your autoflowers one to two times a week.
A garden is a place that relaxes us and reflects our personal style, it’s a place to spend time with loved ones and grow our own fruits and vegetables. Maybe you’re looking for design inspiration or plant selection, or you’re concerned about garden privacy, shady areas, or pests, but don’t worry, you’ve come to the right place.