Butternut squash grew in my house. Its sweet, nutty flavor and vibrant orange flesh made it a constant in my kitchen. Add here the versatility and nutritional value, and you’ll get me. My passion for this delectable winter squash made me find ways to cultivate it not only in the soil of a vegetable garden. Now it also thrives in the confined quarters of containers.
Do you want to know how I do it? Then this is a guide for you. I’ll tell you how I grow butternut squash in containers, and you’ll see for yourself that you can do it, too.
Contents
- 1 Growing butternut squash in containers: easy guide for passionate gardeners
- 2 To conclude
- 3 FAQ
- 3.1 Do butternut squash plants need to climb?
- 3.2 How many butternut squash plants per 5 gallon bucket?
- 3.3 How small can a container be to grow squash?
- 3.4 How many butternut squash does one plant produce?
- 3.5 What are the 5 tips to grow lots of squash?
- 3.6 How deep should a butternut squash container be?
Growing butternut squash in containers: easy guide for passionate gardeners
Nurturing vegetables and fruit from tiny seeds to delicious beauties is extremely rewarding. Let’s see what you need to do to have a gorgeous, aromatic guest inhabiting your kitchen.

#1. Pick out the butternut squash variety
Selecting the right butternut squash variety is the first and most significant step for successful container gardening. All squashes belong to 2 major groups: summer squashes and winter squashes. Butternut squash is a winter squash.
There are several varieties to choose from, each with its unique characteristics.
The factors to consider while choosing the butternut squash variety are space requirements, growing conditions, and flavor preferences.
Butternut squash varieties
- Waltham: a classic winter squash variety known for its rich, sweet flavor and compact size, ideal for container gardening.
- Butterbush: this dwarf winter squash variety is specifically bred for small spaces and is perfect for those with limited room.
- Honey nut: a newer, smaller winter squash perfect for container growing, with a sweet taste like sweet potatoes.

Space
Compact growth is important, so opt for compact butternut winter squashes that will easily withstand container gardening and won’t overcrowd the pots.
You should also consider winter squash varieties that have a vine nature, which means that they thrive vertically.
Climate
Another critical factor is the local climate. Some varieties are better suited for colder climates, while others prefer warmer conditions.
Flavor
The flavor is important, too. Some winter squash varieties offer a more pronounced sweetness, while others have a nuttier taste.
Before making your final decision, consult with local nurseries or gardening experts to ensure the winter squash variety you have picked out is suitable for your squash containers and the specific conditions in your area.

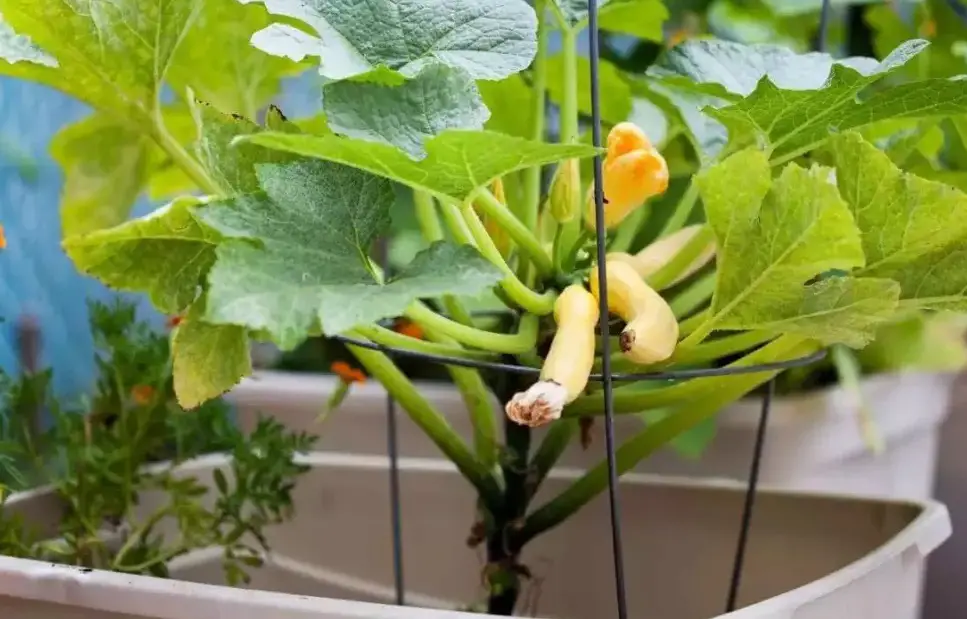
# 2. Pick the container
Choosing the right container is crucial for the success of growing butternut squash in a confined space. Here’s how to select the ideal pot for growing your squash in containers.
Size
Butternut squashes have large root systems, so opt for containers with a minimum capacity of 5 gallons. They will maximize growing space for the roots.
Choose containers with a depth of at least 18 inches to accommodate the growth of butternut squash vines.
Material
Select containers made from breathable materials like plastic, ceramic, or fabric. Roots will develop well only with adequate aeration. Ensure the container material insulates the soil. That’s important for temperature regulation.

Drainage
Drainage holes should be at the bottom of the container to prevent water accumulation. Well-draining soil is essential for healthy root development.
Vertical space
If you’ve chosen a vining squash, provide vertical support like a trellis or sturdy stakes. This ensures the vines have space to climb and produce more fruit.
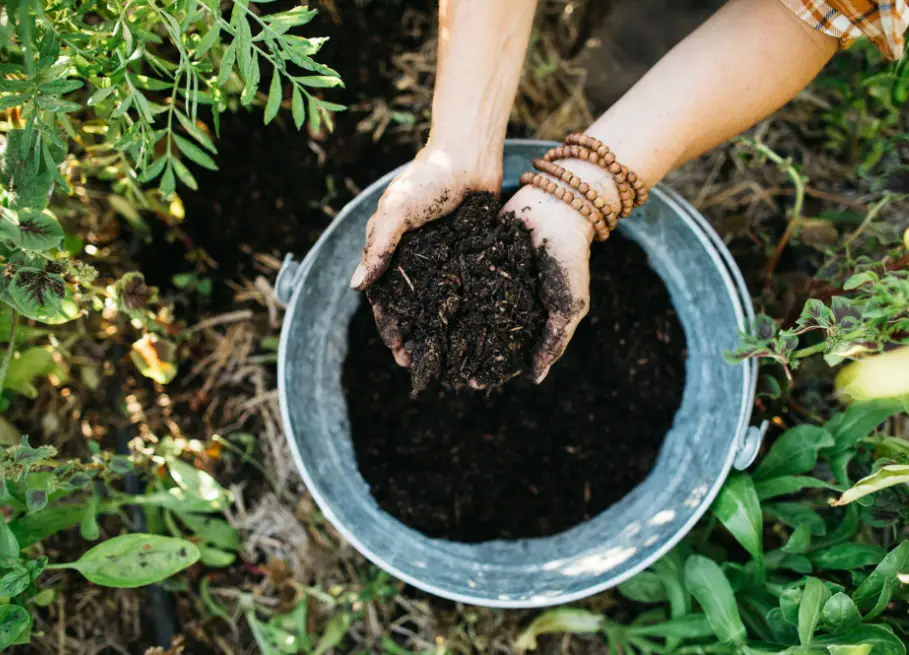
#3. Soil mix
Butternut squash in pots will thrive if the soil is well-draining and nutrient-rich. Here’s how to blend the perfect soil mix for your container garden:
- Start with a high-quality potting mix that provides excellent aeration and drainage.
- A loose, well-draining mix prevents waterlogged conditions that can lead to root rot.
- Incorporate compost into the mix to boost soil fertility. Compost adds essential nutrients, promotes microbial activity, and enhances the overall structure of the soil.
The perfect soil pH level for butternut squashes is between 6.0 and 6.8. Butternut squashes thrive in slightly acidic to neutral conditions.
Consider adding a balanced, slow-release fertilizer to ensure a steady supply of essential micronutrients. To prevent the soil from compacting, add perlite or vermiculite to the mix. They will enhance aeration and fluff.
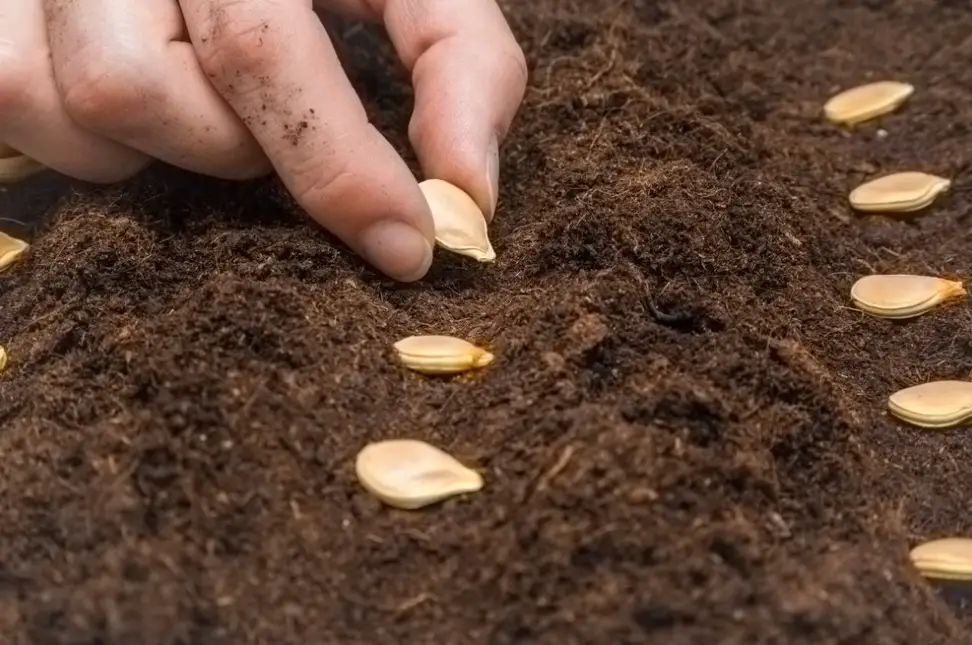
#4. Plant the seeds
Now you are ready. Follow these steps, and your container garden will be a success on the first try.
- Butternut squash seeds thrive in warm soil. Wait until the soil temperature is around 60°F before planting.
- Create small planting holes and plant the seeds approximately 1 to 1.5 inches deep in the center of the container.
- Space the seeds of your winter squash at least 12 inches apart to give room for each plant.
- Keep the soil consistently moist, especially during the germination phase. Water the container thoroughly after planting. To facilitate germination, maintain a warm and humid environment.
- Place the container in a location with full sun exposure. Butternut squash plants love sunlight. Give them at least 6 to 8 hours of direct sunlight daily.
- Once the seedlings have grown their first set of leaves, thin them to ensure the strongest plants remain.
- If you’ve chosen a vine variety, install a trellis or sturdy stakes to support the growing vines.
#5. Provide favorable conditions – water, light, temperature
Now that your butternut squash seeds have sprouted, it’s essential to provide optimal growing conditions to ensure their health and happiness.
Follow my guidelines to create the best environment for your winter squash plants.
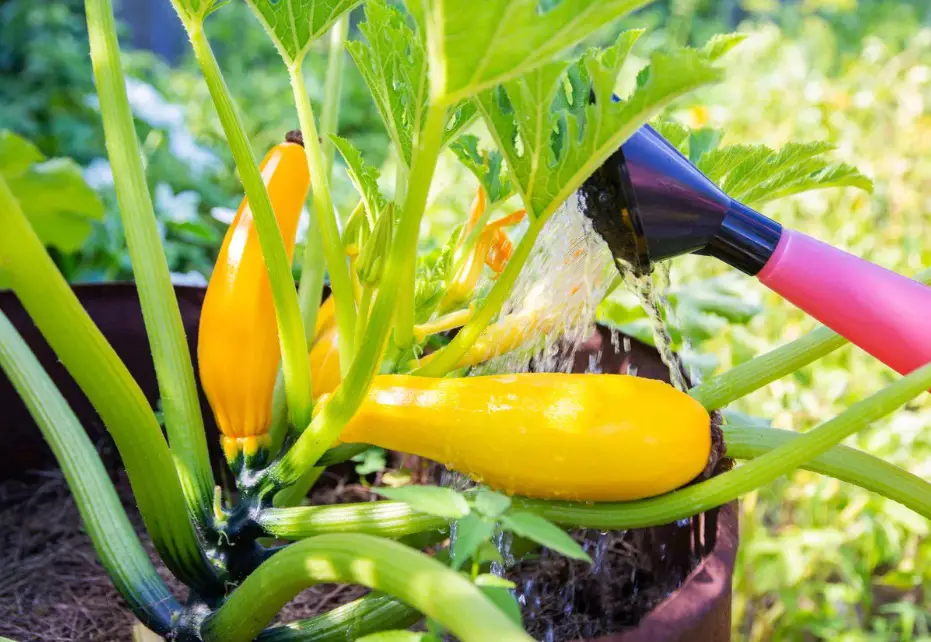
Watering practices
Winter squashes prefer consistently moist soil. Water deeply when the top inch of the soil feels dry to the touch. For healthy root development, ensure the water reaches the root.
While growing butternut squash in containers avoid waterlogging, which can lead to root rot.
Sunlight exposure
Position your container in an area that receives full sun exposure. If possible, rotate the containers every few days to ensure all sides of the plant receive adequate sunlight.
Temperature
Butternut squashes love the warmth. The ambient temperature has to remain between 70°F to 85°F during the day and never drop below 50°F at night.
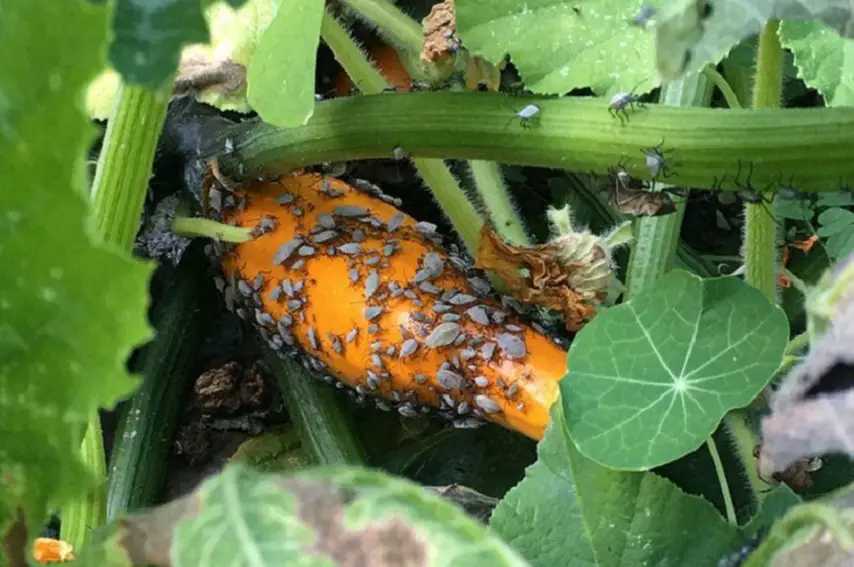
#6. No pests or diseases
A very important rule for a good gardener is to be proactive. Preventing pests and diseases is always better than fighting them.
Do the following and enjoy pest-free butternut squashes:
Inspection
Regularly inspect your squashes for any signs of pests or diseases. Early detection is crucial for effective management.
Companion
Plant companion plants that naturally deter pests. Marigolds, nasturtiums, and radishes, for example, will scare away the squash bugs and other insects harmful to butternut squash.

Spacing
Space your squashes for proper air circulation. Overcrowded plants are more susceptible to diseases like powdery mildew. Powdery mildew thrives in stagnant air.
Spraying
Spray your plants with neem oil from time to time. It’s a natural and effective pest repellent against cucumber beetles, powdery mildew, or vine borers.
Sprinkle food-grade diatomaceous earth around the base of the squash plant. This natural substance is abrasive and effectively deters pests like squash bugs and squash vine borers.
#7. Prune and provide support
Proper pruning and support become essential for your plants to grow and produce fruit. By pruning, you encourage efficient fruit production and by supporting the vines, you manage the space effectively. Here are my recommendations.
By pruning, you provide your plants with extra airflow. Prune away excessive foliage, especially around the center of the plant.
Trim any lateral branches that may shade the main vines. This allows sunlight to reach the main vines and encourage them to produce fruit.
Lift the vines and fruit from direct contact with the soil. This reduces the risk of rot, pests, and diseases. Use soft ties or fabric to secure vines to the support structure.
If you notice any signs of disease or pest infestation, promptly prune and remove affected parts.
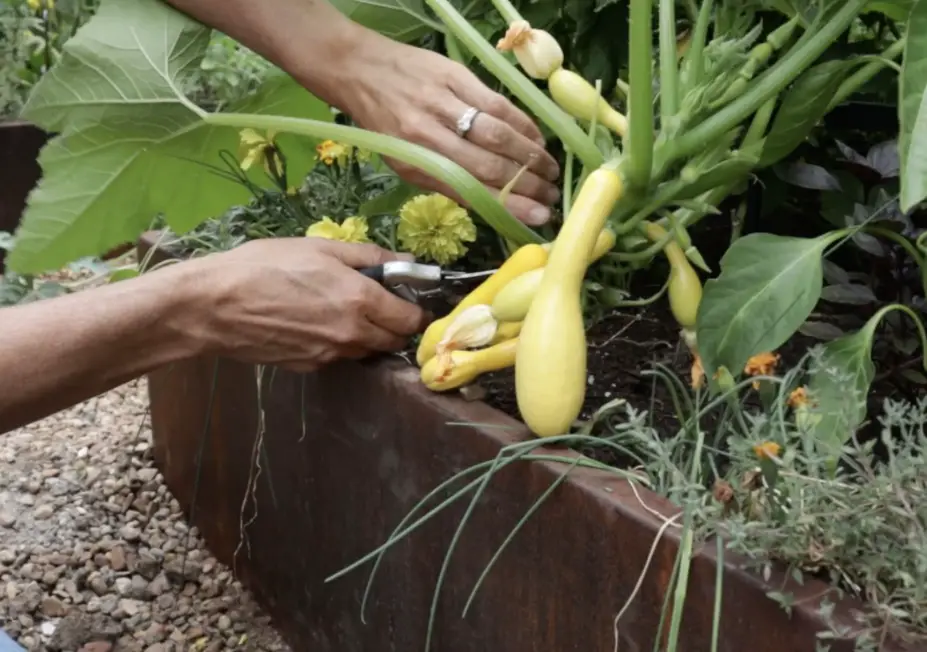
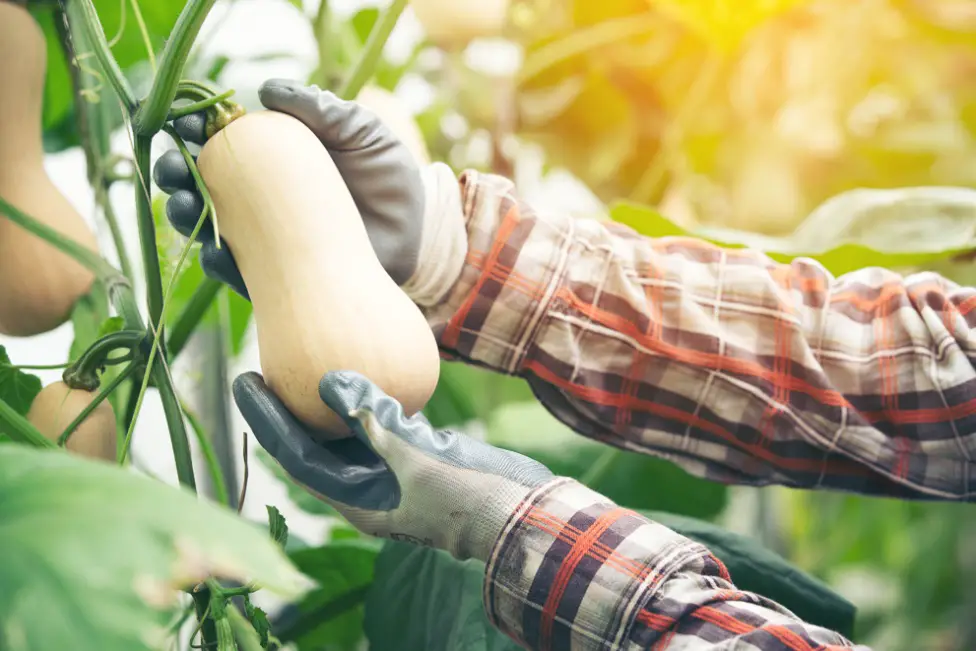
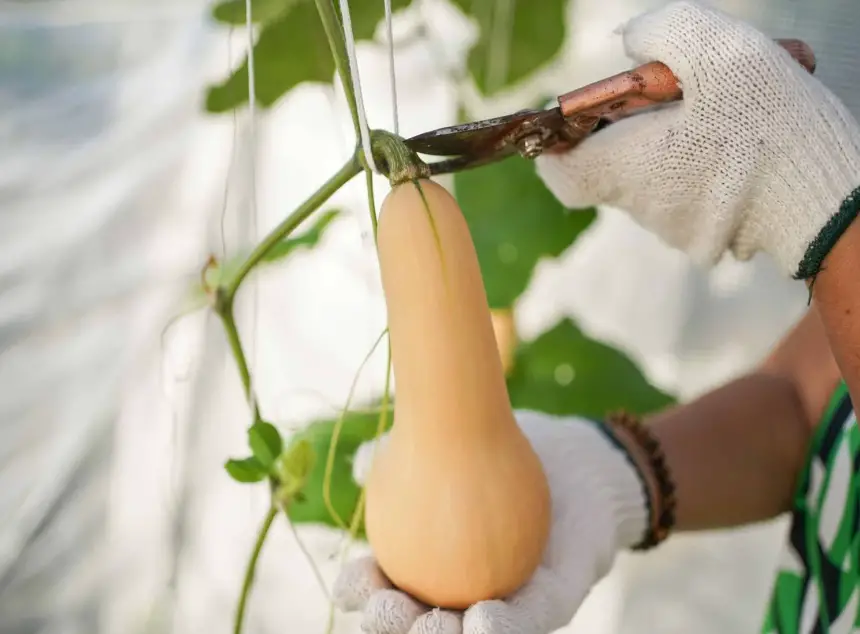
Step 8: Harvesting
After you nurture your beautiful butternut squashes in containers, it’s time to claim the reward for your hard work. To harvest butternut squash properly, you need to choose the right moment.
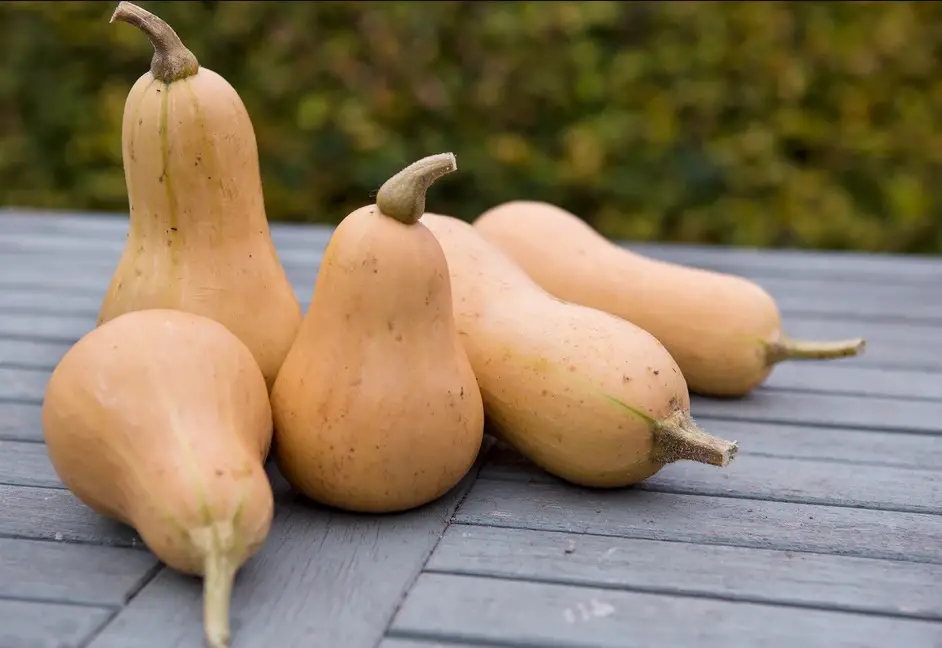
Begin by checking the plant’s maturity. The indicators of a perfectly ripe squash are a deep tan or beige skin color and hard and resistant skin.
Depending on the variety, butternut squash typically takes 75 to 100 days from planting to reach maturity. Use sharp pruning shears or a knife to cut the stem cleanly.
Allow the freshly picked butternut squash to stay in a warm, dry place for 1 to 2 weeks. This will enhance the flavor substantially.
Store container-grown butternut squash in a cool, dry place with good air circulation. An ideal place is a pantry with temperatures around 50°F.
To conclude
In my article, I walked you through the whole process, from selecting the right variety of butternut winter squash to storing the beautiful results of your labor in a cool pantry. Now you are fully equipped to take up the challenge and grow butternut squash yourself.
But keep in mind that butternut squash is just one type of the whole class of vegetables. I, for example, grow acorn squash and summer squash as well, such as yellow zucchini plants. So I encourage you to start with a butternut squash and then continue exploring.
FAQ
Do butternut squash plants need to climb?
Some varieties of butternut squash are vining and benefit from climbing support, while bush varieties are more compact and may not require vertical space.
How many butternut squash plants per 5 gallon bucket?
Plant one butternut squash plant per 5-gallon bucket. That’s adequate space for root development and proper growth.
How small can a container be to grow squash?
A container with a minimum capacity of 5 gallons is recommended for growing butternut squash or any winter squash. This size provides sufficient space for the plant.
How many butternut squash does one plant produce?
On average, one healthy butternut squash plant can produce anywhere from 3 to 6 fruits, depending on growing conditions, variety, and care.
What are the 5 tips to grow lots of squash?
Whether you grow Winter squash or summer squash, the tips will be the same:
– Ensure 6-8 hours of daily sunlight.
– Use well-draining, nutrient-rich soil.
– Keep the soil consistently moist.
– Assist with gentle shaking or a brush.
– Monitor regularly and use preventive measures against pests/diseases.
How deep should a butternut squash container be?
A container for butternut winter squash should be at least 18 inches deep to accommodate the plant’s extensive root system and support healthy growth.
A garden is a place that relaxes us and reflects our personal style, it’s a place to spend time with loved ones and grow our own fruits and vegetables. Maybe you’re looking for design inspiration or plant selection, or you’re concerned about garden privacy, shady areas, or pests, but don’t worry, you’ve come to the right place.